
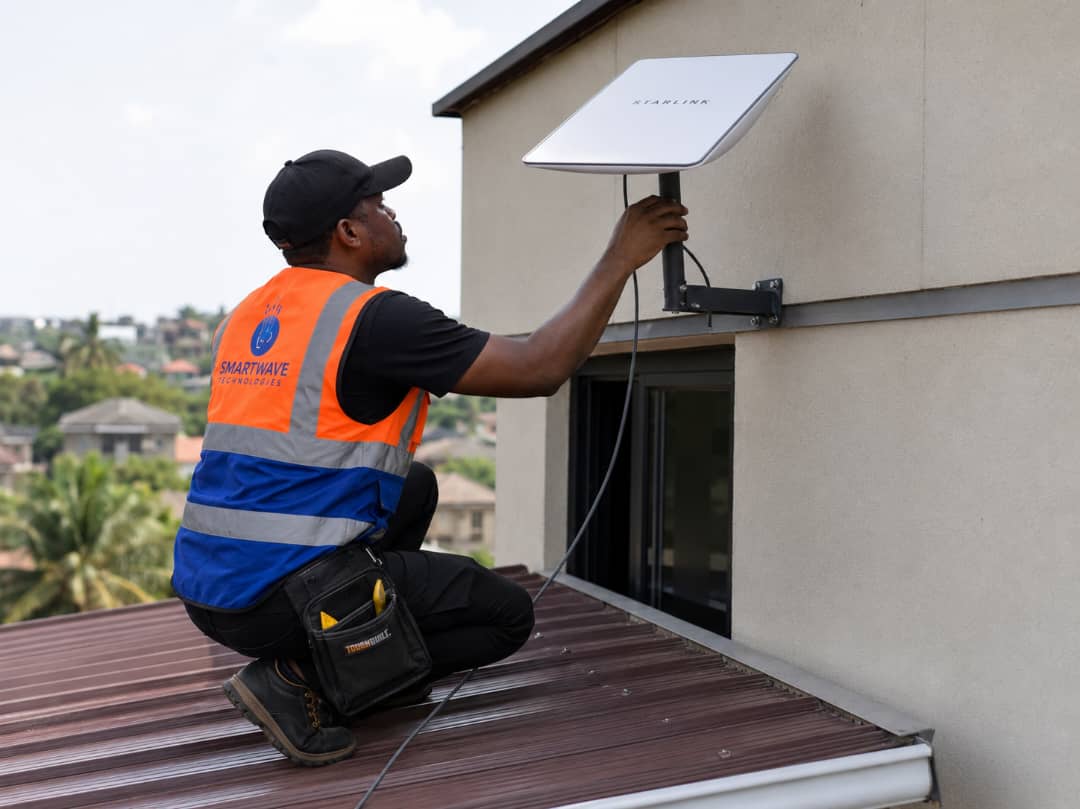
Starlink is marketed as plug-and-play, and on an open lawn it is. On a real Cameroonian building, zinc roofs, mango trees, heavy rain, storey blocks next door, the difference between a good install and a frustrating one is the survey and the mount. Here is how our engineers work.
1. Line-of-sight survey
The dish needs an unobstructed view of the sky in its field of view. Anything crossing that cone, a palm frond, a water tank, the neighbour's upper floor, causes short dropouts that look like a faulty kit but are simple obstruction. We walk the compound, check the roof and the highest accessible points, and pick the position that will still be clear when nearby trees grow.
2. Choosing the mount
- Wall or fascia mount, neat and quick, good for bungalows with clear sky.
- Roof mount, most common on zinc roofs; fixed into structure, never just resting on sheets.
- Pole or mast mount, used when trees or a taller neighbouring building block the view; gains the height needed for clearance.
- Ground or tripod base, for the Mini on temporary sites, field work and events.
3. Cable routing and weatherproofing
The cable is the part that fails first when it is done casually. We route it with proper clips, avoid tight bends, drip-loop it before any entry point, and seal penetrations so water cannot track inside along the cable. On the coast, Limbe, Tiko, Down Beach, we use weather-rated hardware because salt air eats cheap fixings within a season.
4. Power and router placement
Grid interruptions are normal here, so we discuss the router position with an inverter or UPS in mind and keep it central to the rooms that matter, away from a metal cabinet or concrete core that would kill Wi-Fi. On the Standard V4 the Wi-Fi 6 router covers a family home comfortably; larger buildings get access points instead of hoping for range.
5. Alignment, activation and handover
- 1Fine-align the dish and confirm the obstruction map is clear.
- 2Activate the kit and confirm real throughput with a speed test on site.
- 3Set the Wi-Fi name and password, and secure the router admin.
- 4Walk you through the app, then leave you our number for support.
Rainy-season expectations
Very heavy rain can briefly soften satellite throughput, that is physics, not a fault. A clean line of sight, a solid mount and a slight downward-free tilt path make those moments short and rare. Poorly mounted systems, by contrast, spend the whole season dropping.
We install in Buea, Douala, Limbe, Yaoundé, Kumba, Bamenda, Tiko and Bafoussam, and travel to other towns on request.
Frequently asked questions
How long does a Starlink installation take?
A straightforward home installation usually takes a few hours on site, including survey, mounting, cable routing, alignment and activation. Pole mounts and multi-storey buildings take longer.
Can Starlink be installed if trees block the sky?
Often yes, we raise the dish on a pole or mast, or relocate it to a clearer point on the building. The survey tells us which option works before any drilling.
Do you install in towns outside your listed areas?
Yes, our engineers travel on request. Logistics are included in the installation quote.
Talk to an executive
Send your building photo and address on WhatsApp and you'll get a firm price and an installation slot.
Buying a kit? See Starlink prices and towns we install in.
Keep reading
- Pricing guideStarlink price in Cameroon (2026): kits, installation and monthly cost
- ComparisonStarlink vs fibre and local ISPs in Cameroon: which should you choose?
- Business guideBusiness Wi-Fi in Cameroon: hotspot zones, MikroTik and CCTV that actually hold up
- Buying guideStarlink Mini vs Standard (V4): which kit should you buy in Cameroon?
- Security guideCCTV camera installation in Cameroon: cost, cameras and what to expect
- Starlink basicsDoes Starlink work in Cameroon? Availability, legality and real performance
- WiFi zone guideHow to create a Starlink WiFi zone in Cameroon for guest houses, cafés, events and campuses